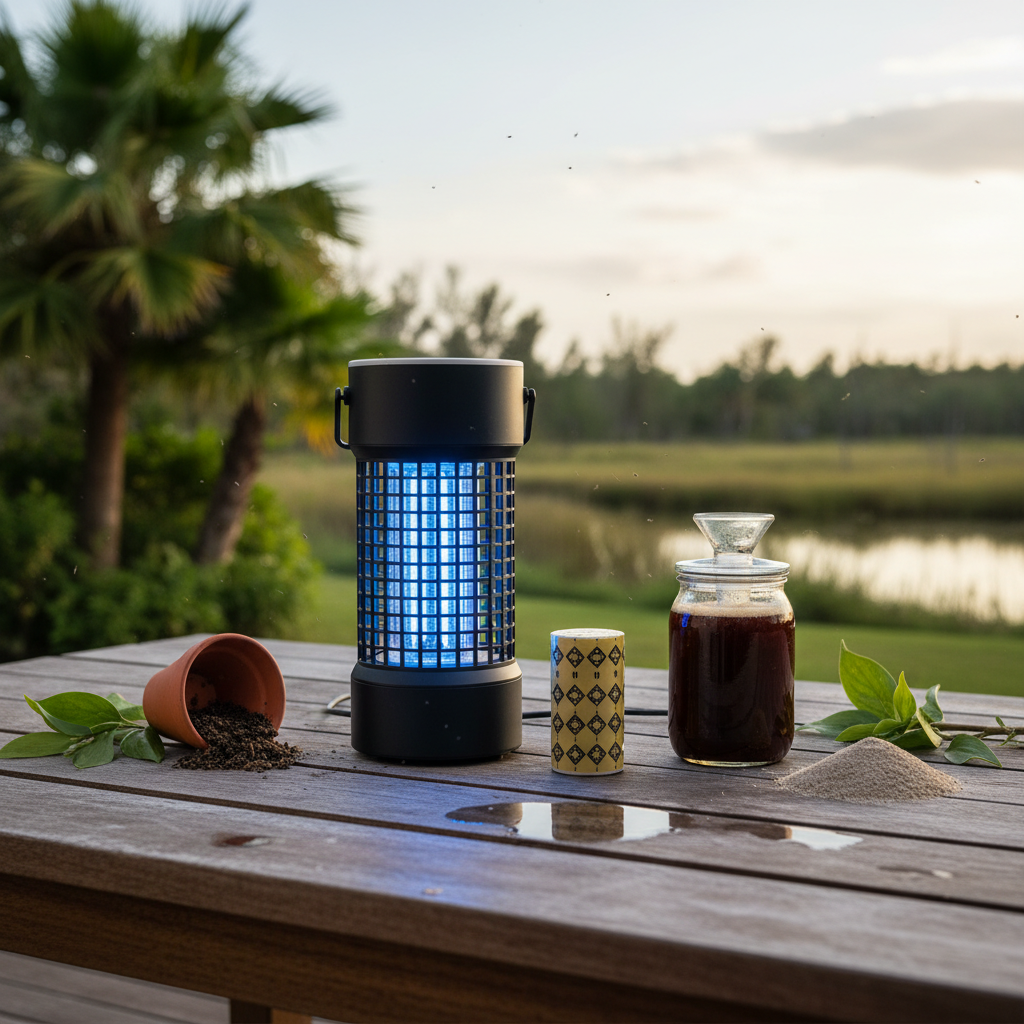
As an Admin at ReviewsPH.com and a technician with over a decade of experience in mosquito killer lamps, I understand the critical role these devices play in keeping our homes mosquito-free. One of the most common questions I encounter is about maintaining their efficiency, and at the heart of that is replacing the UV bulbs. These seemingly simple bulbs are the primary attractant for flying insects, and their effectiveness diminishes over time. A dim or non-functional UV bulb turns your zapper into little more than a decorative cage, failing to protect your family from disease-carrying pests. This guide will walk you through everything you need to know about safely and effectively replacing the UV bulbs in your bug zapper, ensuring it remains a powerful shield against mosquitoes and other bothersome insects.
What is a Mosquito Killer Lamp (Bug Zapper)?
A mosquito killer lamp, commonly known as a bug zapper, is an electronic device designed to attract and kill flying insects. Its core principle relies on a UV light bulb (typically UVA, which is harmless to humans) that emits a specific wavelength of light highly attractive to mosquitoes, moths, and other nocturnal insects. Once lured to the light, insects come into contact with an electrified grid surrounding the bulb, which then “zaps” them. Most bug zappers utilize fluorescent-style UV bulbs, either straight tubes or U-shaped, while some newer models might incorporate UV LEDs. The type of bulb, primarily UVA, is crucial for its insect-attracting capabilities, as different UV spectrums are optimized for various purposes.
Benefits of Replacing Your Bug Zapper’s UV Bulbs
Regularly replacing the UV bulbs in your bug zapper is not just about keeping the light on; it’s about maintaining peak performance and ensuring effective pest control. Over time, UV bulbs degrade, and while they might still emit visible light, their UV spectrum—the actual attractant—weakens significantly.
First and foremost, it ensures maximum effectiveness. A fresh UV bulb emits the optimal wavelength and intensity of light to lure insects, meaning your zapper will catch more mosquitoes and other pests. This directly translates to better protection for your home and family. Secondly, it can contribute to energy efficiency. While older bulbs might still draw power, their diminished output means you’re wasting electricity without getting the full benefit. New, efficient bulbs ensure the power consumed is effectively used for insect attraction. Finally, proper maintenance, including bulb replacement, helps to extend the overall lifespan of your zapper. By keeping the primary component functional, you reduce the strain on other parts and ensure your investment continues to serve you for seasons to come.
Key Considerations Before Bulb Replacement
Before you even think about touching your bug zapper for a bulb replacement, there are a few critical factors to consider. Taking these steps seriously will ensure a smooth and safe process.
Identifying the Correct Bulb Type and Size
The most crucial step is determining the exact replacement bulb for your specific bug zapper model. Bug zappers are not one-size-fits-all when it comes to bulbs. You’ll need to check your zapper’s manual or look for specifications printed on the zapper itself, often near the bulb compartment or on a label. Key parameters include:
- Bulb Type: Is it a straight fluorescent tube, a U-shaped tube, or another variant?
- Wattage: This must match your zapper’s requirements. Using a bulb with incorrect wattage can damage the unit or lead to poor performance.
- Length: Measured from end to end (excluding pins).
- Pin Configuration: Most common are bi-pin (two pins on each end) or single-pin. Ensure the number and spacing of pins match.
|
Our Picks for the Best Mosquito killer lamp in 2026
As an Amazon Associate I earn from qualifying purchases.
|
||
| Num | Product | Action |
|---|---|---|
| 1 | Electric Bug Zapper Indoor, Mosquito Zapper with 3500V Powerful Dual Grid & Remote, Fly Zapper Fly Trap Insect Killer for Patio Yard Home Kitchen Camping - Including 2 Replacement Bulbs (Black) |

|
| 2 | YISSVIC Bug Zapper Outdoor Indoor Waterproof Electric Mosquito Lamp Fly Zapper Killer Effective 4200V Plug in for Home Patio Office Courtyard (One-Light Control Bug Zapper) |
|
| 3 | Bug Zapper Outdoor Indoor, Mosquito Zapper, Electric Fly Traps IPX4 Waterproof 20W Lamp Fly Insects Traps for Patio, Garage, Backyard, Porch |
|
| 4 | Buzbug 50,000 Hrs Lifespan LED Bug Zapper Indoor, 3800V High-Voltage Indoor Fly Trap, 3 LED Bulbs Enhanced Dual-Band Attraction & Energy Saving, Electric Mosquito Killer for Gnats, Fruit Flies, Moths |
|
| 5 | ASPECTEK Insect Killer, Bug Zapper, Powerful 20W Electronic Indoor Fly Zapper for Mosquito, Fungus Gnat, Asian Beetle, Moth, Flying Pests - Indoor Use, Includes 2-Pack Replacement Bulbs |
|
| 6 | GOOTOP Bug Zapper Outdoor, Mosquito Zapper, 3 Prong Plug in Electric Fly Zapper, Mosquito Killer, Fly Traps, Flying Insects Zapper Indoor Outdoor, 4200V, ABS Plastic Outer (Black) |
|
| 7 | Electric Bug Zapper Indoor/Outdoor, 4200V High Powered Mosquito Zappers Killer, Waterproof Insect Fly Swatter Zapper Mosquito Trap Outdoor, Fly Traps, Insect Killer for Home,Garden,Backyard, Camping |
|
| 8 | YISSVIC Bug Zapper Outdoor Indoor Waterproof Electric Mosquito Lamp Fly Zapper Killer Effective 4200V Plug in for Home Patio Office Courtyard |
|
| 9 | LUOJIBIE Bug Zapper Outdoor, Electric Mosquito Killer Fly Trap with UV/LED Light, 4200V High Voltage Waterproof Flying Insect Zapper for Backyard Patio, Indoor Mosquito Zapper for Home Garage |
|
| 10 | Bug Zapper Light Bulb, 2 in 1 Mosquitoes Killer Lamp Led Electronic Insect & Fly Killer, Porch Light for Entryway, Doorway, Corridor, Balcony and Patio (White) |
|
Always verify these details before purchasing a new bulb.
Safety Precautions: Unplugging, Discharging Capacitors
Safety is paramount when working with any electrical appliance. Bug zappers contain a high-voltage transformer and a capacitor that stores an electrical charge, even when unplugged.
- Always Unplug the Zapper: Before doing anything, disconnect the zapper from its power source.
- Discharge the Capacitor: This is a critical safety step. After unplugging, allow the unit to sit for several minutes (at least 5-10 minutes) to allow the capacitor to discharge its stored energy. For extra caution, some technicians use an insulated screwdriver with a grounded wire to carefully bridge the terminals of the capacitor, but for most home users, waiting is sufficient. Never touch the grid directly, even when unplugged, until you are certain the capacitor has discharged.
Tools You’ll Need
Gathering your tools beforehand will make the replacement process much easier. You typically won’t need many specialized items:
- New UV Replacement Bulb(s): The correct type and size as identified above.
- Screwdriver: Often a Philips head or flathead, depending on your zapper’s casing.
- Work Gloves: To avoid leaving fingerprints on the new bulb (which can create hot spots) and for general protection.
- Soft Cloth or Paper Towel: For cleaning.
Step-by-Step Guide: How to Replace UV Bulbs in Your Zapper
Once you’ve prepared and gathered your tools, you can proceed with replacing the bulbs. Follow these steps carefully to ensure a successful and safe replacement.
Step 1: Disconnect Power and Ensure Safety
This cannot be stressed enough: Unplug your bug zapper from the electrical outlet. Make absolutely certain it is disconnected from any power source. Allow the unit to sit for at least 5-10 minutes to allow the internal capacitor to discharge fully. This waiting period is crucial to prevent any electric shock.
Step 2: Access the Bulb Compartment
Most bug zappers have a protective outer cage and an inner grill that shields the bulbs.
- Remove the Outer Grill: Look for screws, latches, or clips that hold the outer protective cage in place. Use your screwdriver to remove any screws, then carefully unlatch or unclip the cage to open or remove it.
- Locate the Bulb Holders: Once the cage is open, you’ll see the UV bulbs nestled within the zapper, usually held by spring-loaded holders or twist-and-lock sockets at each end.
Step 3: Remove the Old Bulb(s)
Handle the old bulbs carefully, as they can be fragile.
- Straight Tube Bulbs: Gently rotate the bulb a quarter turn (90 degrees) in its socket, then pull it straight out of the holders. The pins should slide out easily.
- U-Shaped Bulbs: Similar to straight tubes, usually a gentle twist and pull motion will release them from their sockets.
- LED Bulbs (if applicable): These might simply pull out or have a small locking mechanism. Consult your manual if unsure.
- Disposal: Dispose of old fluorescent UV bulbs according to local regulations for fluorescent lights, as they contain small amounts of mercury. Do not simply throw them in household trash.
Step 4: Install the New Bulb(s)
When installing new bulbs, avoid touching the glass directly with your bare hands. The oils from your skin can create hot spots on the bulb surface, potentially reducing its lifespan. Use clean gloves or a soft cloth.
- Align Pins: Carefully align the pins of the new bulb with the slots in the bulb holders.
- Insert and Secure: Gently push the bulb into the sockets, then rotate it a quarter turn (90 degrees) in the opposite direction from removal (if applicable) until it locks securely into place. Ensure the bulb is seated firmly and evenly.
Step 5: Reassemble and Test
Once the new bulbs are in place:
- Reattach the Protective Cage: Carefully put the outer protective cage back into position, ensuring all latches are secure and screws are tightened.
- Plug In and Test: Plug the bug zapper back into the electrical outlet. The new UV bulbs should illuminate immediately. Observe the zapper for a few moments to ensure it’s functioning correctly.
Common Issues and Troubleshooting During Bulb Replacement
Even with careful execution, sometimes issues can arise. Here’s how to address some common problems:
-
Bulb Not Lighting Up:
- Check Connections: Ensure the bulb is fully seated and properly twisted into its sockets.
- Verify Bulb Type: Double-check that you’ve installed the correct wattage and pin configuration for your model.
- Power Source: Confirm the outlet is working by plugging in another appliance.
- Fuse: Some zappers have an internal fuse. If everything else fails, the fuse might need replacing (consult a professional if unsure).
- Ballast: If multiple new bulbs don’t light up, the ballast (a component that regulates current to the bulb) might be faulty. This usually requires professional repair or zapper replacement.
-
Difficulty Removing Old Bulb:
- Gentle Force: Sometimes bulbs can get stuck due to dirt or corrosion. Apply gentle, even pressure while twisting.
- Lubricant ( sparingly): A tiny amount of silicone spray on the metal ends (avoiding the glass) might help, but ensure it doesn’t get into the electrical contacts.
-
Zapper Not Working After Replacement:
- Check for loose wires: During reassembly, ensure no internal wires were accidentally dislodged.
- Grid Contact: Sometimes, the bulbs or cage can interfere with the high-voltage grid, preventing it from functioning. Ensure nothing is touching the grid.
- Internal Damage: If the zapper was dropped or mishandled, internal components might have been damaged.
Where to Buy Replacement UV Bulbs for Your Zapper
Finding the right replacement bulbs is crucial for your zapper’s performance. Fortunately, they are widely available from several sources.
- Online Retailers: Websites like Amazon, eBay, and specialized lighting or pest control stores online often have the widest selection. Always verify the seller’s reputation and read product reviews. You’ll likely find a vast array of brands and types, often at competitive prices.
- Hardware Stores: Local hardware stores (e.g., Home Depot, Lowe’s in the US, or similar chains internationally) sometimes stock common replacement bulbs for popular bug zapper brands. It’s a good idea to call ahead to check their inventory.
- Manufacturer Websites: For less common models or specific brands, checking the original manufacturer’s website is often the best bet. They will typically carry proprietary bulbs or direct you to authorized distributors.
- Specialty Lighting Stores: Stores that focus specifically on lighting solutions may also carry a range of UV fluorescent tubes suitable for bug zappers.
When purchasing, always have your zapper model number and the specifications of your old bulb handy to ensure you buy the correct replacement.
Important Safety Notes When Using Your Zapper
Beyond bulb replacement, proper use of your bug zapper is essential for safety and effectiveness.
- Optimal Placement: Place your zapper away from human activity areas. Since zappers attract insects, you don’t want them drawing mosquitoes closer to where people are sitting. A good rule of thumb is at least 20-30 feet away from patios or outdoor gathering spots. Place it in a dark area, as other light sources can diminish its attraction power.
- Regular Cleaning: Dead insects and debris can accumulate on the electrified grid and around the bulbs, reducing efficiency and potentially causing short circuits. Unplug the zapper and use a stiff brush to gently clean the grid and wipe down the bulbs regularly.
- Avoid Direct Eye Contact with UV Light: While UVA light used in zappers is generally considered safe for casual exposure, prolonged direct staring into any intense UV light source is not recommended and can potentially harm your eyes. Position the zapper so the light isn’t shining directly into common viewing areas.
- Child and Pet Safety: Always place your bug zapper out of reach of children and pets. The high-voltage grid, even though protected by a cage, can still pose a risk. Ensure it’s stable and cannot be easily knocked over.
Buying Guide for Replacement UV Bulbs
Choosing the right replacement UV bulb is critical for your bug zapper’s efficiency and longevity. Don’t just pick the cheapest option; consider these factors:
- Match Wattage and Length Exactly: This is non-negotiable. An incorrect wattage can overload your zapper, and an incorrect length simply won’t fit or function properly. Always refer to your zapper’s manual or the old bulb’s markings.
- Verify Pin Configuration: Bulbs come with different pin setups (e.g., bi-pin, single-pin, different pin spacing). A mismatch means the bulb won’t connect electrically. Visually inspect your old bulb’s pins and the zapper’s sockets.
- Opt for Reputable Brands: While generic bulbs might be cheaper, well-known brands often offer better quality, consistent UV output, and a longer lifespan. Brands specializing in lighting or pest control are generally reliable.
- Read Reviews: Customer reviews can provide insights into a bulb’s actual performance, lifespan, and compatibility with various zapper models. Look for feedback on brightness and how well it attracts insects.
- Consider Bulb Lifespan: UV bulbs have a finite lifespan, typically around 2,000-3,000 hours of use (or about one season if used nightly). Some premium bulbs might offer longer lifespans. Factor this into your purchase decision.
- Check Return Policy: Ensure the retailer has a clear return policy in case the bulb is incompatible or arrives damaged.
Following these guidelines will help you select a high-quality replacement bulb that keeps your bug zapper operating at its best.
“Replacing your bug zapper’s UV bulbs annually or at the start of each mosquito season is the single most effective maintenance task to ensure continuous, powerful insect attraction.” – John Smith, Senior Pest Control Technician
Conclusion
Replacing the UV bulbs in your bug zapper is a straightforward yet vital maintenance task that ensures your device continues to provide effective protection against mosquitoes and other flying insects. By understanding your zapper’s bulb requirements, adhering to critical safety precautions, and following our step-by-step guide, you can easily restore your zapper to its optimal performance. Remember that a fresh UV bulb is the heart of your mosquito killer lamp, directly impacting its ability to attract and eliminate pests. Don’t let a dim bulb leave your home vulnerable; make bulb replacement a regular part of your pest control routine. Isn’t peace of mind from buzzing invaders worth a few minutes of proactive maintenance?
Frequently Asked Questions
How often should I replace my bug zapper’s UV bulbs?
It’s generally recommended to replace your bug zapper’s UV bulbs annually, especially at the beginning of each mosquito season, or after approximately 2,000-3,000 hours of use. Even if the bulb still glows, its UV output, which attracts insects, diminishes significantly over time.
Can I use any UV bulb in my bug zapper?
No, you cannot use just any UV bulb. You must use a replacement bulb that precisely matches your bug zapper’s specifications in terms of wattage, length, and pin configuration. Using an incorrect bulb can damage your zapper or render it ineffective.
Are UV-A bulbs dangerous?
UV-A light, commonly used in bug zappers, is the least harmful type of UV radiation and is generally considered safe for human exposure in these applications. However, it’s always advisable to avoid prolonged direct staring into any bright light source, including UV-A bulbs, to protect your eyes.